How to File a Water Damage Insurance Claim: Step-by-Step
How to File a Water Damage Insurance Claim: Step-by-Step
When water damage strikes your Fort Worth home, the chaos of the moment can make the insurance claims process feel overwhelming. Between stopping the water, protecting your belongings, and finding a restoration company, figuring out the right way to file a claim often gets pushed to the bottom of the list. But how you handle the first 24 to 48 hours after a water damage event can significantly affect the outcome of your insurance claim.
At 2 Brothers Restoration, we have guided hundreds of Fort Worth homeowners through the insurance claims process. This step-by-step guide is based on that experience and is designed to help you protect your rights, maximize your payout, and minimize the stress of the process.
Step 1: Stop the Source and Protect Your Property
Before you even think about insurance, your first responsibility is mitigating the damage. In fact, your insurance policy legally requires you to take reasonable steps to prevent further damage. This is called your "duty to mitigate."
Practical steps include:
- Shutting off the main water supply if a pipe has burst
- Turning off electricity to affected areas if it is safe to do so
- Moving valuable items and furniture away from standing water
- Placing buckets under active leaks
- Calling a professional emergency water extraction company immediately
Do not wait for insurance approval before calling a restoration company. Delaying extraction and drying to wait for an adjuster can result in significantly more damage, and your insurance company may use that delay as grounds to reduce your claim. Professional restoration companies like 2 Brothers Restoration are accustomed to starting work before the adjuster arrives, and we document everything the adjuster will need to see.
Step 2: Document Everything Before Cleanup Begins
Documentation is the foundation of a successful insurance claim. Before you or your restoration company begins cleaning up, take the following steps:
Photographs and Video
Use your phone to take extensive photographs and video of all damage. Capture wide-angle shots of each affected room, close-up images of specific damage like waterlines on walls, damaged flooring, and saturated furniture. Photograph the source of the water if it is visible. Record video walkthroughs of each room, narrating what you see. The more documentation you have, the stronger your claim.
Inventory of Damaged Items
Create a list of all damaged personal property, including a description of each item, its approximate age, and an estimated replacement value. Photograph each item if possible. This inventory will be critical for the personal property portion of your claim. If you have receipts or records of original purchases, gather those as well.
Written Timeline
Write down exactly when you discovered the damage, what you observed, what steps you took, and when you took them. Include dates and times. This contemporaneous record is valuable if there are later questions about the timeline of events.
Step 3: Contact Your Insurance Company
Call your insurance company's claims line as soon as possible after addressing the immediate emergency. Most major carriers have 24/7 claims reporting lines. When you call, you will need:
- Your policy number
- Date and time the damage occurred or was discovered
- A brief description of what happened and the extent of damage
- Confirmation of what steps you have taken to mitigate further damage
The claims representative will assign you a claim number and explain the next steps in the process. Write down the claim number, the representative's name, and any reference numbers provided. You will use the claim number in all future communications.
Important: Be Honest but Careful
Answer questions truthfully, but do not speculate about things you do not know. If you are not sure when the leak started, say "I discovered it on this date." Do not guess that it had been leaking for weeks, as that kind of speculation can be used to classify the damage as a gradual leak and deny coverage.
Step 4: Understand Your Policy
Take time to read the water damage sections of your policy. Look for:
- Coverage limits: Your policy has a maximum payout for dwelling coverage and a separate limit for personal property. Know these numbers.
- Deductible: This is the amount you pay before insurance kicks in. Water damage deductibles in Texas typically range from $500 to $2,500, but some policies have percentage-based deductibles.
- Exclusions: Confirm that your type of water damage is not excluded. Flooding, sewer backups (without a rider), and gradual leaks are common exclusions.
- Additional living expenses (ALE): If your home is uninhabitable during restoration, your policy may cover temporary housing, meals, and other increased living costs.
Step 5: Meet With the Insurance Adjuster
Your insurance company will send an adjuster to inspect the damage. This visit typically occurs within one to three days of your claim filing, sometimes sooner for major losses. The adjuster's job is to evaluate the damage, determine the cause, and estimate the repair costs.
Preparing for the Adjuster Visit
- Have your restoration company present: If possible, schedule the adjuster visit when your restoration technician can be on site. Our team at 2 Brothers Restoration can walk the adjuster through the damage, explain the restoration process, and answer technical questions. This ensures the adjuster understands the full scope of the work required.
- Provide your documentation: Share copies of your photographs, video, and damaged item inventory with the adjuster.
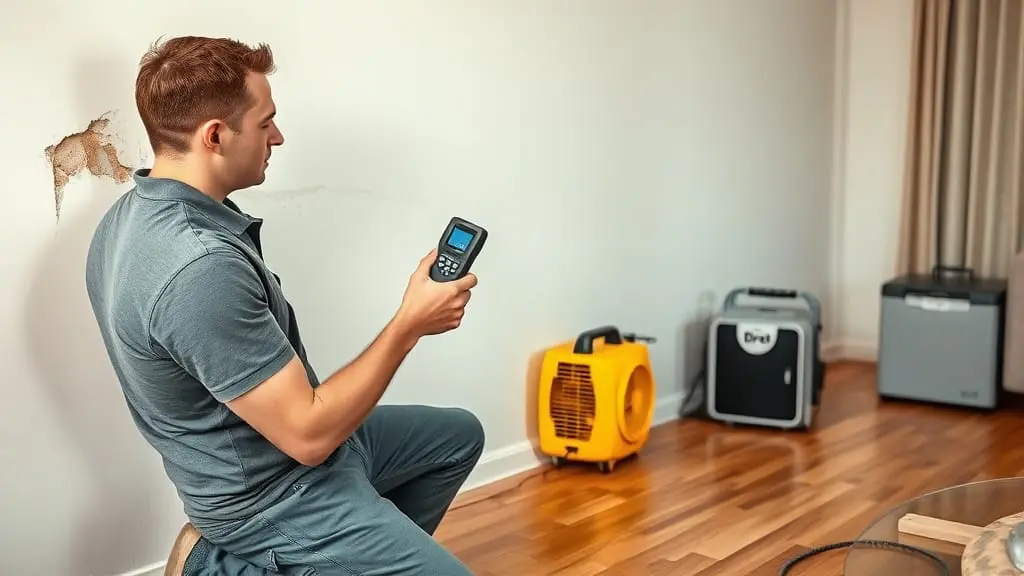
- Point out all damage: Do not assume the adjuster will find everything. Walk through the property and point out every area of damage, including hidden areas identified by your restoration company's moisture detection equipment.
- Do not sign anything immediately: The adjuster may present an initial estimate. You are not required to accept it on the spot. Review it carefully and compare it to the estimates provided by your restoration company.
Step 6: Get a Professional Restoration Estimate
Your restoration company should provide a detailed estimate using Xactimate, which is the industry-standard estimating software used by virtually all insurance companies. An Xactimate estimate breaks down every line item, from demolition and extraction to drying, cleaning, and reconstruction, using standardized pricing that adjusters recognize.
If the adjuster's estimate is lower than your restoration company's Xactimate estimate, the two parties can typically negotiate to reach agreement. Having a professional, line-item estimate gives you a strong position in these discussions.
Step 7: Review and Negotiate the Settlement
After the adjuster completes their inspection, the insurance company will issue a settlement offer. Review this offer carefully against the actual scope of work required. Common areas where insurance estimates fall short include:
- Underestimating the area affected by moisture (this is where professional moisture mapping documentation is critical)
- Excluding necessary antimicrobial treatment or air quality testing
- Using lower-quality materials than what was originally in the home
- Omitting demolition and disposal costs
- Underestimating drying time and equipment needs
If the settlement offer does not cover the actual cost of proper restoration, you have the right to dispute it. Provide your restoration company's detailed estimate and supporting documentation. Most disputes are resolved through direct negotiation between the restoration company and the adjuster.
Step 8: Complete the Restoration
Once the claim is settled, your restoration company begins (or continues) the work. A comprehensive water damage restoration project includes extraction, drying, cleaning, and reconstruction. Your insurance company typically issues payments in stages:
- Initial payment: Covers emergency mitigation services (extraction and drying)
- Progress payment: Released as reconstruction work is completed
- Final payment: Released upon completion, often after you sign a satisfaction form
If your mortgage company is listed on the insurance check, you may need to endorse the check through your lender, who may require documentation of completed repairs before releasing the funds.
Step 9: Keep Records of Everything
Maintain a file with all claim-related documents, including:
- Claim number and adjuster contact information
- All photographs and video
- Damaged item inventory
- All estimates and invoices
- Correspondence with the insurance company
- Receipts for out-of-pocket expenses including temporary housing
- Restoration company drying logs and completion certificates
Common Mistakes to Avoid
- Waiting too long to file: Most policies require prompt notification. File your claim within 24 hours if possible.
- Throwing away damaged items too soon: Keep damaged materials until the adjuster has inspected them.
- Accepting the first offer without review: Initial settlement offers are negotiable.
- Not using a restoration company that works with insurance: Companies that understand the claims process and use Xactimate make the process smoother for everyone.
If you are facing water damage and feeling overwhelmed by the insurance process, call 2 Brothers Restoration. We handle the technical restoration work and support you through every step of the claims process, from initial documentation through final settlement.
Get Priority Response
Step 1 of 3Have an Emergency?
Do not let water damage sit. We are available 24/7 to take your call.
(817) 607-3264